Progression items work like 'gates' within the system. You can set them so you have to complete the item before you can move along to the next step, for example you can't move past the let agreed stage until you have carried out right to rent checks.
There are some system generated examples of progression items, but you can add your own! We do advise that you work out what you'd like to have on the system before you start adding the new items in.
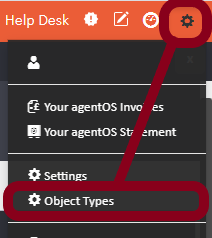
To add your own to the system you'll need to click the settings icon on the top right of your agentOS screen, and choose the option for Object types

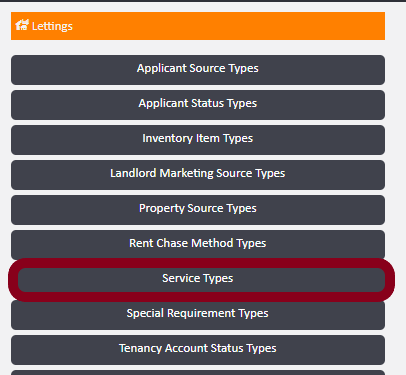
From here you will need to select Service Types under the lettings section:

And you'll need to click into the service type you'd like to add the progression items onto. You will then see Lettings Progression checklist on the left:

Here you can add new progression items:

Here you decide when you'd like the item to show, for example during the let agreed/advertised stage.
The task description is what you'd like to be prompted.
Finally we have three toggle options, one if the item is optional (Can we move along without completing it) The next two are if you require your staff to upload documents or comments.
Once you are happy you can click add. The item will appear in the list below:

You can click onto these items, if you need to edit click the edit button on the top right hand corner:

Please note - Anything added to the progression will only effect new tenancies generated. It does not update retrospectively and will apply the progression item to all new tenancies(renewal and relet) on that service.
Comments
0 comments
Please sign in to leave a comment.