You may have a large quantity of records that you would like imported to agentOS, and rather than manually add each account/profile one by one, upload them in one go.
The bulk upload function will enable you to do this!
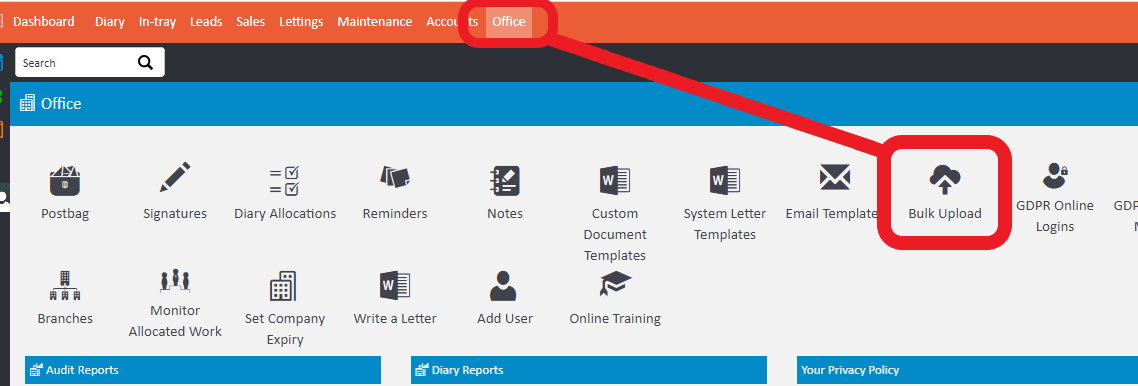
Please go to the office tab > bulk upload.

Next you will need to create the name for the upload to be imported into. For this you will need to select a branch, upload type (what the upload is for) and a name.
Once you have done, click add and the upload line will be created for you ready to assign a file to.
Please go to the orange actions button against the upload line and go to Upload - the file you upload must be a CSV file.

Once you have uploaded the file you will notice that the "upload state" has changed to Awaiting Mapping. To do this next step please go to actions again > map fields.

The following box will appear and you will want to go to each field (where applicable) and match the appropriate column heading from your CSV spreadsheet that you uploaded. This will ensure that your data is matched into the correct agentOS fields.

Any additional information that is on your spreadsheet but doesn't fit into the agentOS fields can be put into the notes. Please ensure that this toggle is selected to yes at the bottom of the mapping window.

Once you have completed the mapping and saved, you will see that again the "upload state" has changed to Uploaded & Mapped. At this stage you can see how many records have pulled through from your CSV, what is awaiting the import, if any have failed and how many fields you chose to map.
Please also take note of the "to do" list as this will help you know what's next to action. 
Now it's time to import into the system!
Please go to actions again > import. You will be asked to confirm you are happy with the amount of records you would like to import.

Once you have completed the above action you may have to wait a small amount of time for the process to fully complete, depending on how many items you are looking to import.
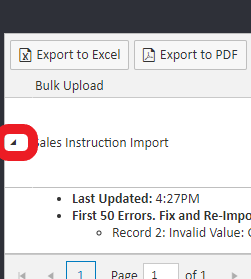
Once the importing has completed, you will be notified on the upload page whether anything in the file has failed or not. You can see what has failed by dropping down the black arrow at the beginning of the line.

Go back to your original CSV to fix any errors and then re-upload.
Your "To-Do" list will show you what needs to be done next throughout the process.
Once all errors have been removed and the data is able to fully import into the system successfully, the profiles/accounts will be available to use within the system.
You can view what has been imported by clicking on the bulk uploader you created and going to Imported People on the left hand side.

Comments
0 comments
Please sign in to leave a comment.