
The system has an inbuilt diary; you can use this to book a variety of different appointments or bookings for your business.
The Diary can be found along the tabs at the top of your screen:

- You have a filter on the left hand ladder, you can this to look at a specific person’s diary. If you have none selected then it will show everyone’s.
- Each user is listed in a list on the left, categorised by branch - these can be collapsed and expanded according to your preferred view.

- The diary will remember your preferred selection and display the same calendar next time you log into the system, so please be mindful of this when you go back into the diary that your view may be restricted until you expand the drop-down menus.
- Each user is assigned a colour at random. There are eight colours used on rotation.

To add a diary entry:
Double click onto the diary slot you wish to apply a booking to > fill in the fields accordingly
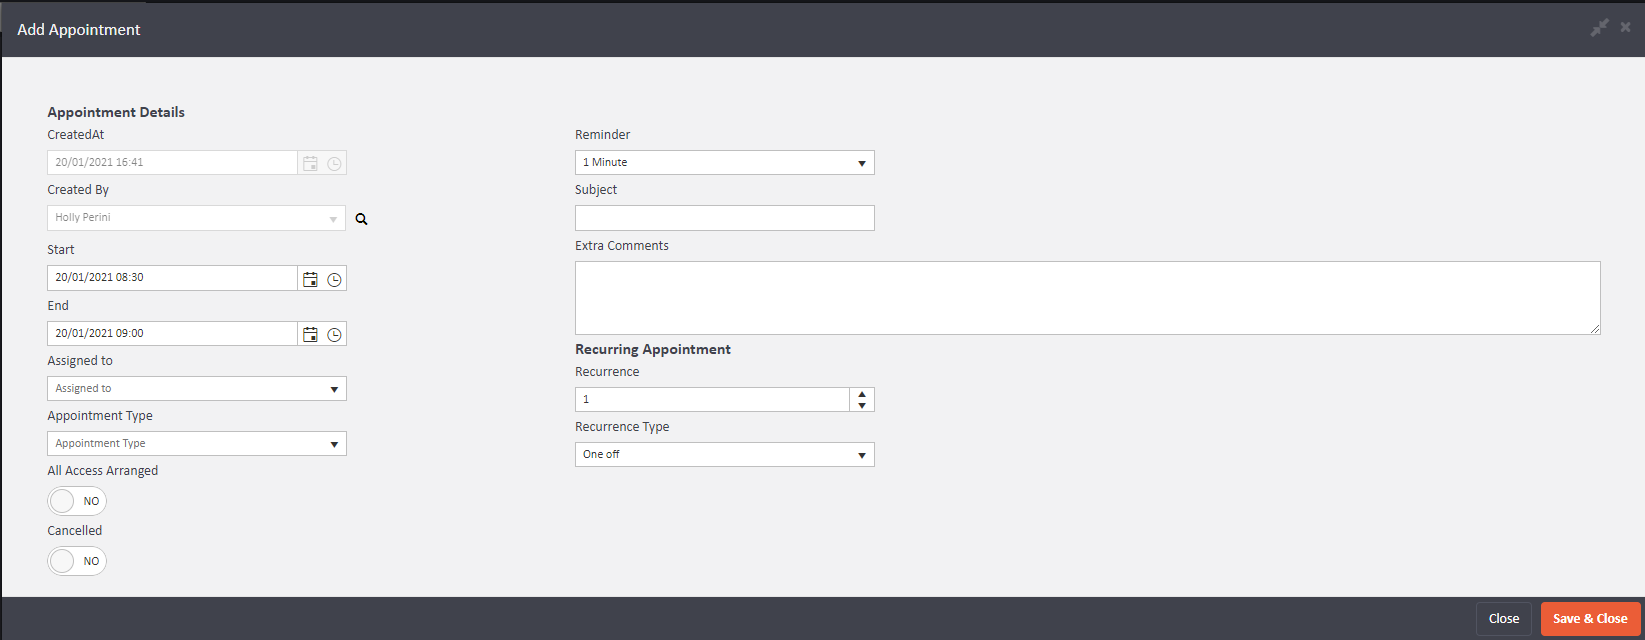
Start: Start time of the booking
End : End time of the booking
Assign to: Staff member the appointment will be linked to
Appointment type: What is the booking for?
All access arranged: this this if you have arranged access
Cancelled: Tick this if the booking gets cancelled
Reminder: How long before the start time do toy want to be reminded of the appointment
Subject: Subject of the appointment
Extra Comments: Can be more information
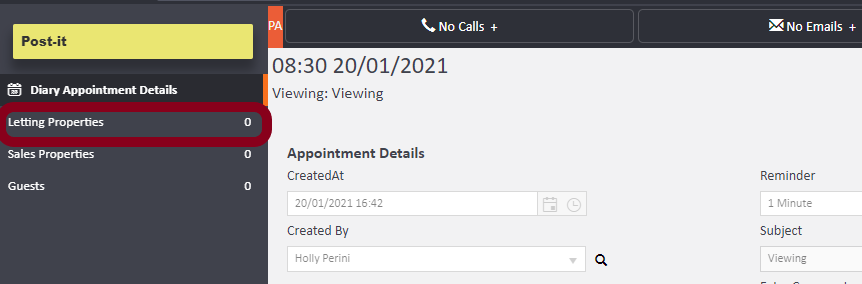
Once you have added this information, click save and close to complete. You can now add guests (for example, applicants, landlords, contractors etc..) You can do this by clicking onto the options on the left hand ladder.
A newly added feature to the diary page is the Automatic Diary Appointment Confirmation. What this will do is, by simply flipping a toggle, you can choose to have an email, an SMS, or both, be sent out automatically to the guest in your appointment.
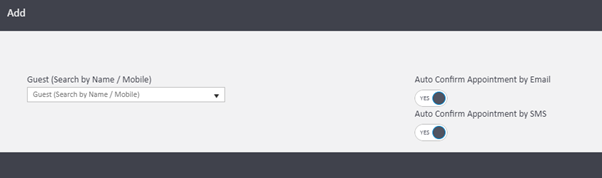
The default state of these toggles can be set by any company’s Admin user.
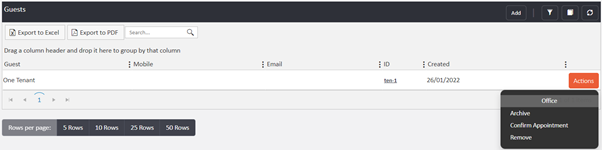
Appointments can also be manually confirmed as needed (such as in the event of a time or date change) by going to the Guests section inside the diary appointment, clicking Actions and Confirm Appointment:
If Sales Properties or Letting Properties have been included in the booking prior to the appointment being confirmed then details will be included as part of the standard wording received, as well as details of the Appointment Type:
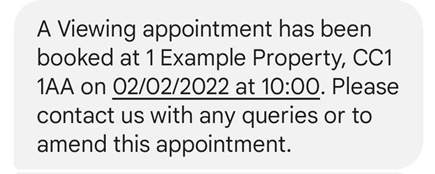
As seen above, the date and time will be generally highlighted in the text for ease of creating an event or reminder directly from the messaging screen.
As for adding properties to the appointment, Lettings properties as an example, you can apply the property to the appointment which will link them.
Start typing the address into the bar and it will populate options relevant to your entry
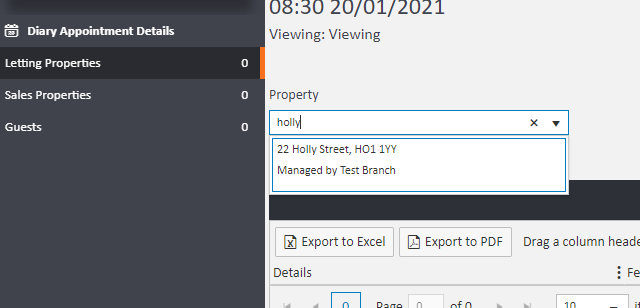
Click Add to save property
To arrange access, click the actions button as shown above, to the right hand side of the added property. Select "Arrange Access"
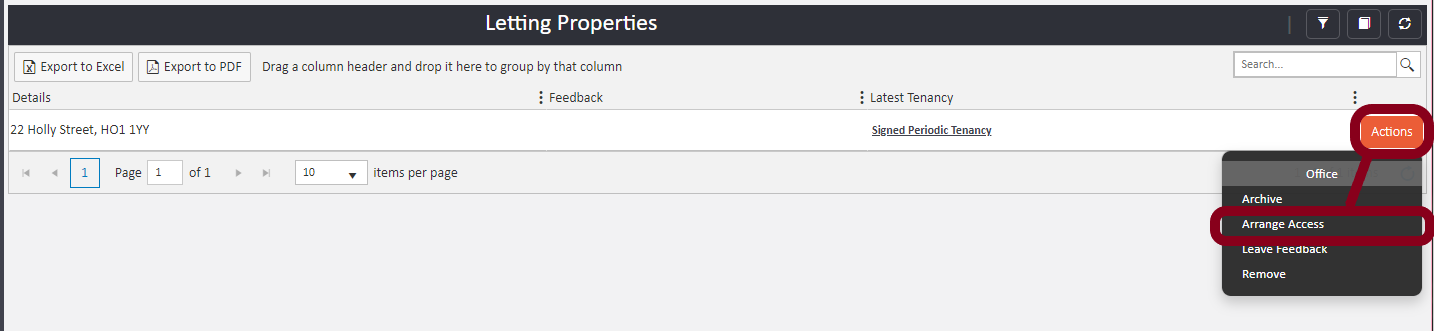
- On this screen you can select the method to contact the tenants i.e. My Email, or Branch Email (depending on which you would like the recipient to see)

- To send and complete click the ARRANGE ACCESS button in the bottom right.
Comments
0 comments
Article is closed for comments.